About this deal
If you are installing your fence in a high rainfall area, you can also set this baseplate on a bed of gravel that will offer better drainage and allow water that does get into the sleeve post to drain away. To remove this kind of removable fence post, you would need to remove any fence that is installed on it and then use two wrenches to loosen and remove the bolt. Easy to Manufacture from Readily Available Materials Joining 4x4s for horizontal use instead of vertical use is done in a similar way. The orientation of the cuts should maximize lateral strength while preventing the retention of penetrating moisture. The stresses applied to the skid will also affect the type and orientation of the connection. A pull force versus a downward force affects the joint differently. Post to Beam Connection To connect the Simpson Strong-Tie (SST) or other pre-drilled plates to the 4x4s, align and level the posts with the plates and clamp everything tightly together. Some plates have a mid-line set of holes that can align with the joint and still have enough holes for screws. Off-set opposing plates by 1/2 the distance between rows of holes, that will make it easier to fasten them. Use appropriate fasteners like SST #9 x 2-1/2” structural-connector screws to attach the plates to the posts.
There are numerous ways to modify a half lap. Some involve elaborate cuts and may even include a wooden key pin to secure the joint. The less complex joint retains the traditional parallel and perpendicular cuts and is easier for the novice or beginner. Finding extenders for concrete posts may be a little tougher than other materials. Extenders for concrete posts will be made of metal, wood, or vinyl. They should look like these. They will be slotted on either side, so that fence panels will slide in and fit snugly.
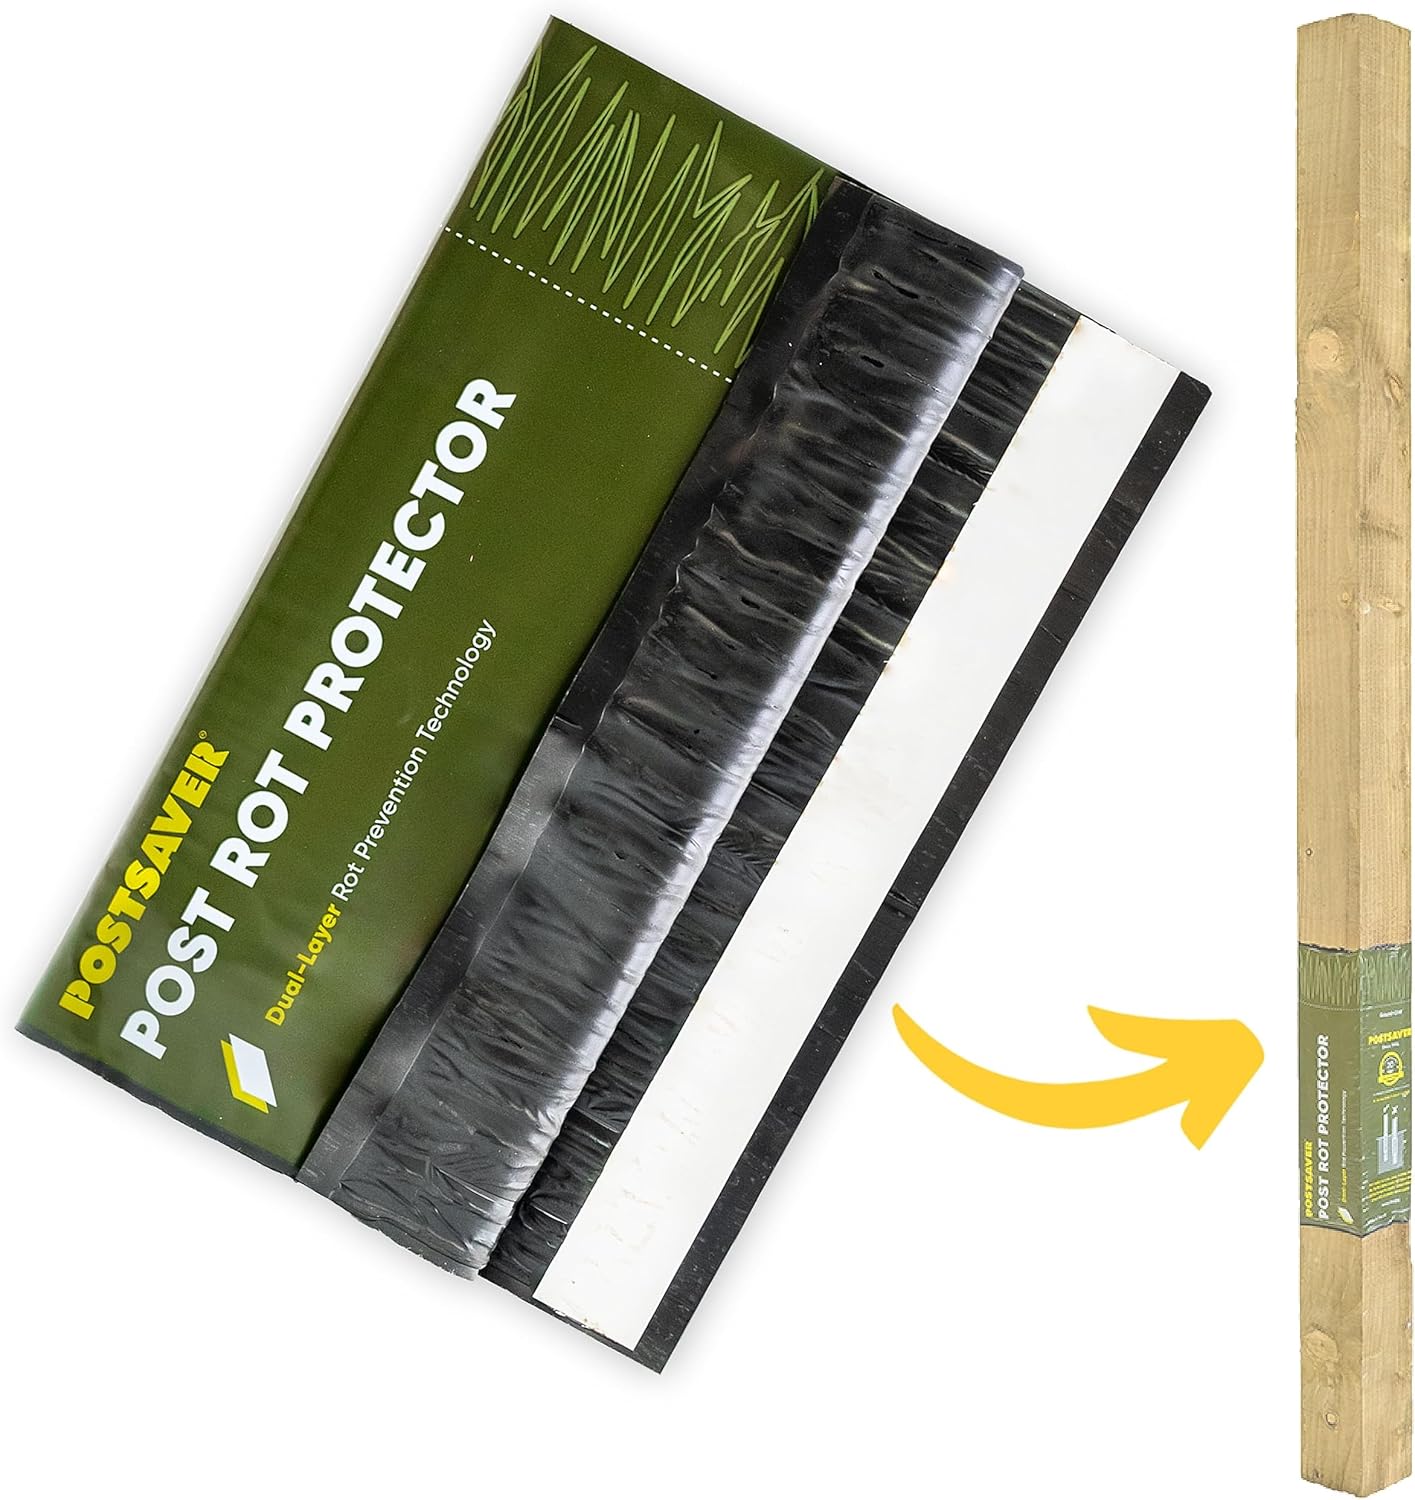
Your Fence Post
After you have made sure that the extension is level, you can go ahead and screw it into place. If you did the half-lap method I mentioned earlier then you have already completed this step.
It comes with a 20-year post-replacement guarantee, so you can rest assured that your posts are protected for years to come.Lengths of 3/8” to 1-1/4” dowels can be used to add lateral strength to butt joints. Carefully measure to bore and align 1 to 4 holes in the ends of each 4×4 and drill the holes between 1” and 3” deep. Cut the dowels to lengths of 2” to 6”, sand the cuts, glue, and tap into place.
The fence post options for a removable post like this are nearly endless. You could use this as a fence post for demountable panels or as a bollard. You can make your post any size you like as long as you can find the right size pipe for your sleeve too, and you can make your removable fence post any height you need for the job at hand. It’s very important that you don’t fill the center of your sleeve with concrete or gravel, though because this is where you will set your removable fence post when it’s in position. After fitting the pieces together, just screw them into place. 5. Place The Extender On Top Of The Post A glued, plated and bolted nibbed tapered scarf joint is stronger than a half lap but not as easy to cut in limited space. Although it too has two cuts per 4×4, accurate sawing is more difficult. The skill level and aesthetics of the finished joint influence the choice of connection. A poorly sawn joint won’t make for a strong connection. Conclusion There are many reasons why you might want a removable fence post. Maybe you need to have a section of demountable fence. Maybe you need to use it as a bollard to keep unauthorized traffic out of an area.There are several ways to remove the wood to do the lap; however, the lengths and location do play a part. A basic hand saw, hammer, and chisel, or all three have worked for centuries. Electric or battery-powered skill saws or reciprocating saws are a modern convenience that may make the task easier. I’ve seen a good hand sawer do up a set of half-laps in the same amount of time as a reciprocating saw, and with much more accuracy. There are many reasons to join 2 4x4s together. Making a post longer, cut too short, repairing a post, building a longer piece for a skid, and post-to-beam connections are the most common reasons. Extend Posts As you will note from the sketch we’ve provided, our version of a sleeve has a pre-welded base plate. There are several reasons for this. You might be wondering why this removable fence post design is only for areas that don’t get snow and ice. If your original fence posts are concrete, you will need to use that the screws specifically made for concrete that I mentioned before. You’ll also need a carbide-tipped drill bit to be able to drill holes into the concrete. 7. Paint The Extenders
 Great Deal